Hey there! As a supplier of C Type Thermocouples, I've seen firsthand how crucial it is to have these sensors calibrated correctly. A well - calibrated thermocouple ensures accurate temperature measurements, which is super important in a bunch of industries like metal processing, aerospace, and research labs. So, in this blog, I'm gonna walk you through the process of calibrating a C Type Thermocouple.
What is a C Type Thermocouple?
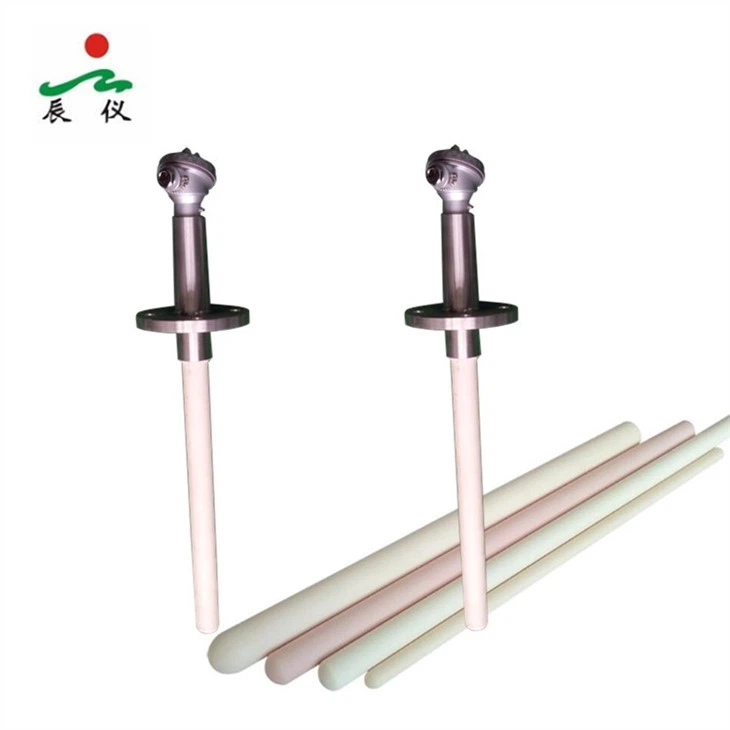
Before we dive into calibration, let's quickly talk about what a C Type Thermocouple is. It's a high - temperature thermocouple made from tungsten - rhenium alloys. These bad boys can handle temperatures up to around 2320°C (4208°F), making them ideal for applications where other thermocouples would just melt down.
Why Calibration is Necessary
Over time, thermocouples can drift in their accuracy due to a variety of factors. Exposure to high temperatures, chemical reactions, and mechanical stress can all affect the performance of a C Type Thermocouple. Calibration helps to correct any inaccuracies and ensures that the temperature readings you get are as close to the actual temperature as possible. Without proper calibration, you might end up with faulty data, which could lead to problems in your processes, whether it's in manufacturing or scientific research.
Tools and Equipment Needed
To calibrate a C Type Thermocouple, you'll need a few essential tools:
- Calibration Furnace: This is used to create a stable, known temperature environment. Make sure it can reach the high temperatures required for C Type Thermocouple calibration.
- Reference Thermocouple: A highly accurate thermocouple that serves as a standard for comparison. You might want to consider using a Platinum Rhodium Thermocouple or a Type S R B Thermocouple as your reference.
- Data Acquisition System: This is used to record the temperature readings from both the C Type Thermocouple being calibrated and the reference thermocouple.
- Thermocouple Extension Wires: These are used to connect the thermocouples to the data acquisition system.
Step - by - Step Calibration Process
Step 1: Preparation
- First, make sure your calibration furnace is clean and in good working condition. Check for any signs of damage or wear.
- Inspect the C Type Thermocouple and the reference thermocouple for any visible damage, such as broken wires or loose connections.
- Connect the thermocouples to the data acquisition system using the thermocouple extension wires. Make sure the connections are secure.
Step 2: Initial Temperature Reading
- Place the C Type Thermocouple and the reference thermocouple in the calibration furnace. Make sure they are positioned in such a way that they are exposed to the same temperature environment.
- Set the furnace to a low, stable temperature, for example, 100°C (212°F). Let the furnace reach this temperature and stabilize for about 15 - 20 minutes.
- Record the temperature readings from both the C Type Thermocouple and the reference thermocouple using the data acquisition system.
Step 3: Multiple Temperature Points
- Now, gradually increase the temperature of the furnace in steps. For a C Type Thermocouple, you might want to take readings at 500°C (932°F), 1000°C (1832°F), 1500°C (2732°F), and 2000°C (3632°F). At each temperature point, let the furnace stabilize for about 15 - 20 minutes before recording the temperature readings.
- Compare the readings from the C Type Thermocouple with those from the reference thermocouple. Calculate the difference between the two readings at each temperature point.
Step 4: Adjustment
- If there are significant differences between the readings of the C Type Thermocouple and the reference thermocouple, you'll need to make adjustments. Some data acquisition systems have built - in calibration functions that allow you to enter correction factors based on the differences you've calculated.
- After making the adjustments, repeat the temperature points and record the new readings to ensure that the calibration has been successful.
Step 5: Final Checks
- Once you've completed the calibration process, check the calibration certificate or documentation. Make sure all the temperature points, readings, and adjustments are properly recorded.
- You can also perform a final test at a random temperature point to double - check the accuracy of the calibrated C Type Thermocouple.
Tips for Successful Calibration
- Follow the Manufacturer's Instructions: Every thermocouple and calibration furnace has its own set of instructions. Make sure you read and follow them carefully to ensure accurate calibration.
- Keep Records: Maintain detailed records of the calibration process, including temperature readings, adjustment factors, and the date of calibration. This will help you track the performance of the thermocouple over time.
- Regular Calibration: Plan to calibrate your C Type Thermocouples regularly. Depending on the application, this could be every few months or once a year.
Conclusion
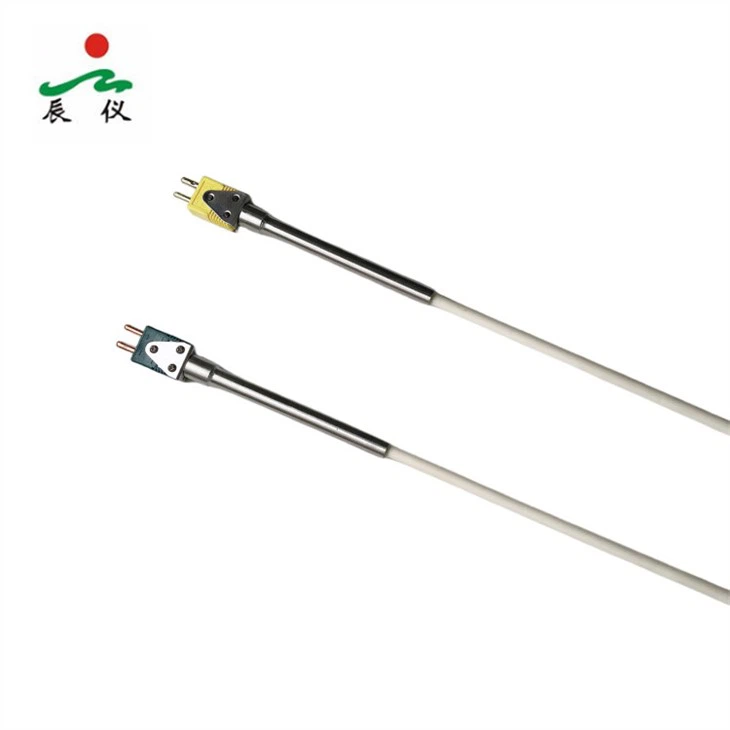
Calibrating a C Type Thermocouple is an important process that ensures accurate temperature measurements. By following the steps outlined in this blog, you can calibrate your thermocouples with confidence. If you're in the market for high - quality C Type Thermocouples or other thermocouple products like the S Type Thermocouple With Plug, we're here to help. Whether you're a small - scale research lab or a large - scale manufacturing plant, we can provide you with the right thermocouple solutions for your needs. If you have any questions or are interested in purchasing our products, don't hesitate to reach out for a procurement discussion.
References
- "Thermocouple Handbook" - A comprehensive guide on thermocouple technology and calibration.
- Manufacturer's documentation for C Type Thermocouples and calibration furnaces.