

Installing a C type thermocouple in a small space can be a bit tricky, but with the right approach, it's definitely doable. As a supplier of C Type Thermocouples, I've helped many customers through this process, and I'm here to share some tips and tricks to make your installation as smooth as possible.
Understanding the C Type Thermocouple
First off, let's talk about what a C type thermocouple is. A C Type Thermocouple is a high - temperature thermocouple made from tungsten - rhenium alloys. It's capable of measuring temperatures up to around 2320°C (4208°F), which is pretty amazing. These thermocouples are commonly used in industries like aerospace, metallurgy, and high - temperature research.
Compared to other types of thermocouples, like the Platinum Rhodium Thermocouple, C type thermocouples can handle much higher temperatures. But they also require a bit more care during installation, especially in small spaces.
Pre - installation Preparations
Before you start the installation, there are a few things you need to do. First, gather all the necessary tools. You'll need a pair of wire cutters, a soldering iron (if required), some heat - resistant tape, and a multimeter to test the thermocouple.
Next, make sure you have a clear understanding of the space where you'll be installing the thermocouple. Measure the dimensions carefully. Note any obstacles, like pipes or other equipment, that might get in the way. You want to plan the route for the thermocouple wires so that they can be installed without being bent or crushed.
It's also a good idea to check the thermocouple itself. Look for any visible damage to the wires or the junction. If you find any issues, contact your supplier right away. At our company, we stand behind the quality of our C Type Thermocouples, and we'll be happy to replace a defective unit.
Step - by - Step Installation
Step 1: Positioning the Thermocouple
The first step is to position the thermocouple at the right spot. In a small space, this can be a bit of a challenge. You want to place the thermocouple junction as close as possible to the area where you need to measure the temperature. For example, if you're measuring the temperature inside a small furnace, try to place the junction in the center of the hottest part.
Use a small piece of heat - resistant tape to hold the thermocouple in place temporarily. Make sure it's not blocking any air vents or other important parts of the equipment.
Step 2: Running the Wires
Once the thermocouple is in position, it's time to run the wires. In a small space, you might need to be creative. Try to find a clear path along the walls or other structures. Avoid sharp corners or areas where the wires could be pinched.
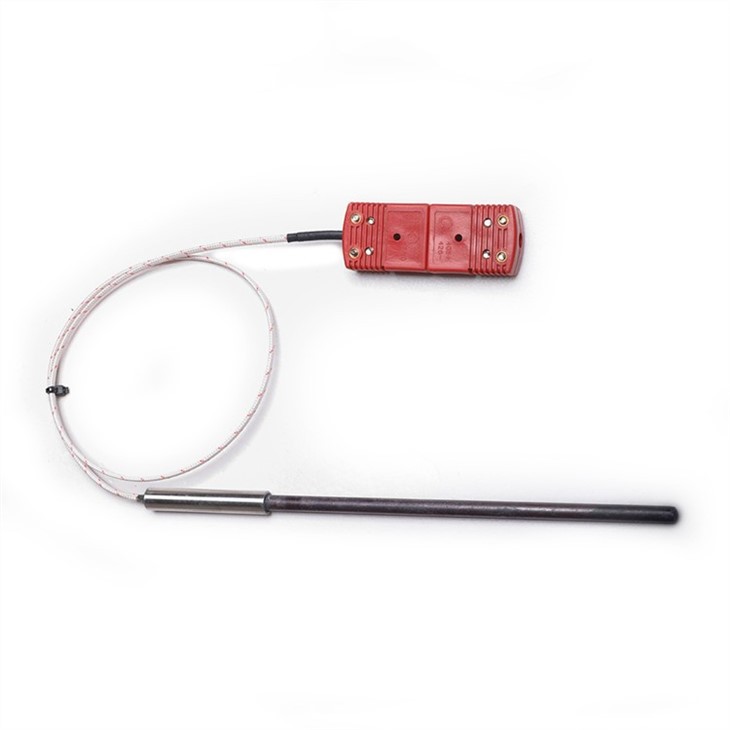

If you need to bend the wires, do it gently. C type thermocouple wires are relatively brittle, so excessive bending can damage them. You can use some cable ties or clips to secure the wires along the route, but don't tighten them too much.
Step 3: Connecting the Wires
After running the wires, you need to connect them to the measuring device. This could be a temperature controller or a data logger. Make sure you follow the correct polarity. Usually, the positive wire is marked, so double - check before making the connection.
You might need to solder the wires if the measuring device requires it. If you're not experienced with soldering, take your time and make sure the joints are clean and secure. After soldering, let the joints cool down completely before proceeding.
Step 4: Testing the Thermocouple
Once the installation is complete, it's time to test the thermocouple. Use a multimeter to check the output voltage. Compare the reading with the expected values based on the temperature in the area. If the reading is way off, there might be a problem with the installation or the thermocouple itself.
If you encounter any issues during the testing, don't panic. Check all the connections again, and make sure the thermocouple is properly positioned. If you still can't figure out the problem, give us a call. We have a team of experts who can help you troubleshoot.
Tips for Installing in Small Spaces
- Use Flexible Conduits: If possible, use flexible conduits to protect the thermocouple wires. They can be easily bent to fit into small spaces, and they also provide some protection against damage.
- Consider Miniature Thermocouples: For extremely small spaces, you might want to consider Small and Laboratory Thermocouples. These are designed to be more compact and can be easier to install in tight areas.
- Work in Sections: If the space is really small and complex, break the installation into smaller sections. Install one part at a time, and make sure each section is working properly before moving on.
Post - installation Maintenance
After the installation is successful, it's important to perform regular maintenance on the thermocouple. Check the wires for any signs of wear or damage, especially in high - vibration areas. Clean the thermocouple junction periodically to remove any dirt or debris that could affect the accuracy of the measurements.
If you notice any changes in the temperature readings over time, it could be a sign that the thermocouple needs to be replaced. At our company, we offer a wide range of replacement parts and new C Type Thermocouples to keep your equipment running smoothly.
Contact Us for Your Thermocouple Needs
If you're in the market for a C type thermocouple or need more information about installation and maintenance, don't hesitate to reach out. We're a reliable supplier of high - quality thermocouples, and we're committed to providing excellent customer service. Whether you have a small - scale project or a large industrial application, we have the right thermocouple for you.
References
- "Thermocouple Handbook" by Omega Engineering
- "Temperature Measurement" by John W. Naisbitt
