Hey there! I'm a supplier of KNE Thermocouple Heads, and I'm here to walk you through the process of installing one in a kiln. Whether you're a seasoned pro or just getting started, this guide will help you get the job done right.
Why Choose a KNE Thermocouple Head?
Before we dive into the installation process, let's talk about why you might want to choose a KNE Thermocouple Head in the first place. These heads are known for their reliability and accuracy, which are crucial when it comes to monitoring the temperature in a kiln. They're designed to withstand high temperatures and harsh environments, making them a great choice for industrial applications.
Compared to other thermocouple heads on the market, like the DANA Thermocouple Head, the KNE Thermocouple Head offers a number of advantages. It has a more robust construction, which means it's less likely to break or malfunction. It also provides more accurate temperature readings, which can help you ensure that your kiln is operating at the optimal temperature.
Tools and Materials You'll Need
Before you start the installation process, you'll need to gather a few tools and materials. Here's what you'll need:
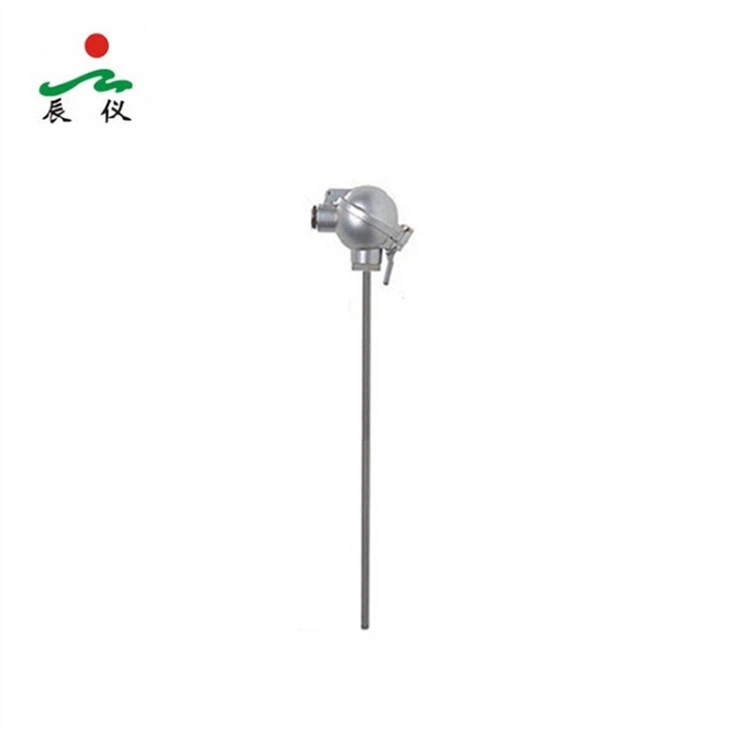
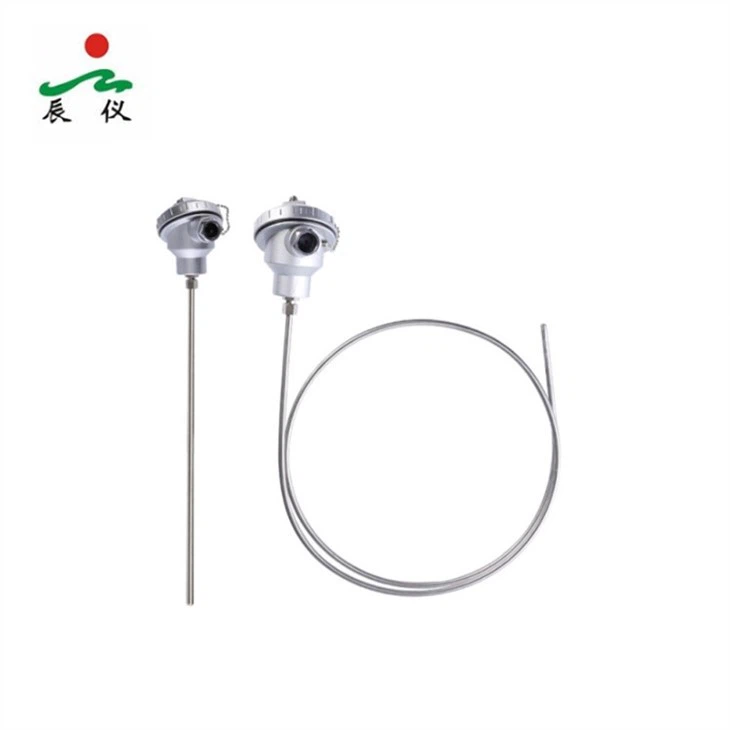
- KNE Thermocouple Head: You can find more information about this product on our website KNE Thermocouple Head.
- Thermocouple Wire: Make sure you choose the right type of wire for your application.
- Screwdriver: You'll need a screwdriver to remove and install the screws on the thermocouple head.
- Wrench: A wrench will be needed to tighten the fittings on the thermocouple head.
- Electrical Tape: This will be used to insulate the electrical connections.
- Safety Gear: It's important to wear safety glasses and gloves to protect yourself during the installation process.
Step-by-Step Installation Guide
Now that you have all the tools and materials you need, it's time to start the installation process. Here's a step-by-step guide to help you through it:
Step 1: Turn Off the Kiln
Before you start working on the kiln, make sure it's turned off and cooled down completely. This will help prevent any accidents or injuries.
Step 2: Locate the Installation Point
The next step is to locate the installation point for the thermocouple head. This is usually near the top or side of the kiln, where it can get an accurate reading of the temperature. Make sure the installation point is clean and free of any debris.
Step 3: Remove the Old Thermocouple Head (if applicable)
If you're replacing an old thermocouple head, you'll need to remove it first. Use a screwdriver to remove the screws that hold the head in place. Then, gently pull the head out of the kiln.
Step 4: Prepare the Thermocouple Wire
Cut the thermocouple wire to the appropriate length, leaving enough extra wire to make the connections. Strip the insulation off the ends of the wire, about 1/2 inch.
Step 5: Connect the Thermocouple Wire to the Head
Open the KNE Thermocouple Head and locate the terminals. Connect the thermocouple wire to the appropriate terminals, making sure the connections are tight. You may need to use a screwdriver to tighten the screws on the terminals.
Step 6: Install the Thermocouple Head
Place the thermocouple head in the installation point and secure it with the screws. Make sure the head is level and straight.
Step 7: Connect the Thermocouple to the Control System
Once the thermocouple head is installed, you'll need to connect it to the control system. This may involve connecting the thermocouple wire to a S Type Thermocouple Connector or another type of connector. Follow the instructions provided with your control system to make the connections.
Step 8: Test the Thermocouple
After you've made all the connections, it's time to test the thermocouple. Turn on the kiln and let it heat up. Monitor the temperature readings on the control system to make sure they're accurate. If you notice any issues, double-check your connections and make sure everything is installed correctly.
Troubleshooting Tips
If you encounter any problems during the installation process or after the thermocouple is installed, here are a few troubleshooting tips to help you out:
- No Temperature Reading: If you're not getting a temperature reading on the control system, check the connections to make sure they're tight. You may also need to check the thermocouple wire for any breaks or damage.
- Inaccurate Temperature Reading: If the temperature readings are inaccurate, make sure the thermocouple head is installed in the correct location. You may also need to calibrate the thermocouple to ensure accurate readings.
- Thermocouple Malfunction: If the thermocouple is malfunctioning, it may need to be replaced. Contact our customer support team for assistance.
Conclusion
Installing a KNE Thermocouple Head in a kiln is a relatively straightforward process, as long as you follow the steps outlined in this guide. By choosing a KNE Thermocouple Head, you can ensure that your kiln is operating at the optimal temperature, which can help improve the quality of your products and increase the efficiency of your operations.
If you have any questions or need further assistance with the installation process, don't hesitate to contact us. We're here to help you every step of the way. And if you're interested in purchasing a KNE Thermocouple Head or other temperature sensor accessories, please visit our website or reach out to our sales team. We look forward to working with you!
References
- Manufacturer's instructions for KNE Thermocouple Head
- Industry standards for thermocouple installation in kilns