As a reputable supplier of Pt1000 4 - Wire RTDs, I understand the importance of providing customers with comprehensive guidance on how to connect these sensors to wireless transmitters. In this blog post, I'll walk you through the process step - by - step, ensuring that you can achieve a reliable and accurate connection.
Understanding the Pt1000 4 - Wire RTD
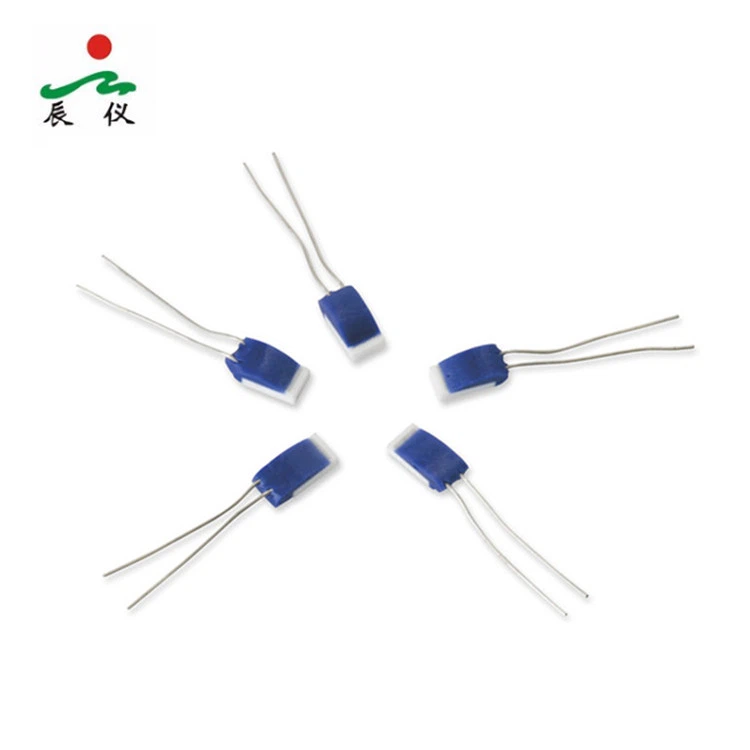
Before we dive into the connection process, let's briefly review what a Pt1000 4 - Wire RTD is. A Pt1000 RTD (Resistance Temperature Detector) is a temperature sensor that uses platinum as the sensing element. The "1000" indicates that at 0°C, the resistance of the platinum element is 1000 ohms. The 4 - wire configuration is designed to eliminate the effects of lead wire resistance, which can cause measurement errors, especially in long - distance applications.
The main advantage of a 4 - wire RTD over other configurations is its high accuracy. By using two wires to carry the excitation current and two wires to measure the voltage across the RTD element, any resistance in the lead wires does not affect the voltage measurement, and thus, the temperature calculation remains precise.
Selecting the Right Wireless Transmitter
The first step in connecting a Pt1000 4 - Wire RTD to a wireless transmitter is to select a suitable transmitter. There are several factors to consider:
- Compatibility: The wireless transmitter must be compatible with the Pt1000 RTD. This means it should have the appropriate input range to handle the resistance changes of the Pt1000.
- Accuracy: Just like the RTD, the accuracy of the transmitter is crucial. Look for a transmitter with a high - resolution analog - to - digital converter (ADC) to ensure accurate temperature readings.
- Wireless Protocol: There are various wireless protocols available, such as Wi - Fi, Bluetooth, ZigBee, and LoRa. Choose the one that best suits your application requirements in terms of range, data rate, and power consumption.
Preparing the Pt1000 4 - Wire RTD and Wireless Transmitter
Once you have selected the right wireless transmitter, it's time to prepare the components for connection.
- Inspect the RTD: Check the Pt1000 4 - Wire RTD for any physical damage. Ensure that the wires are intact and that the insulation is not cracked or worn.
- Power Off the Transmitter: Before making any connections, turn off the power to the wireless transmitter to prevent any electrical shorts or damage.
- Identify the Wires: The 4 - wire RTD has four wires: two for the excitation current and two for voltage measurement. Usually, the wires are color - coded, but it's always a good idea to refer to the RTD's datasheet for confirmation.
Connecting the Pt1000 4 - Wire RTD to the Wireless Transmitter
The connection process typically involves the following steps:
- Locate the Input Terminals: Find the input terminals on the wireless transmitter that are designated for RTD connections. These terminals are usually labeled clearly.
- Connect the Current - Carrying Wires: Connect the two current - carrying wires of the Pt1000 RTD to the appropriate terminals on the transmitter. These terminals are often marked as "I +" and "I -".
- Connect the Voltage - Measuring Wires: Connect the two voltage - measuring wires of the RTD to the corresponding terminals on the transmitter, typically marked as "V +" and "V -".
- Secure the Connections: Make sure all the connections are tight and secure. Loose connections can lead to intermittent readings or inaccurate measurements.
Configuring the Wireless Transmitter
After the physical connection is made, you need to configure the wireless transmitter.
- Set the RTD Type: In the transmitter's configuration menu, select "Pt1000" as the RTD type. This ensures that the transmitter uses the correct resistance - to - temperature conversion formula.
- Calibrate the Transmitter: Some wireless transmitters may require calibration to achieve the highest level of accuracy. Follow the manufacturer's instructions to perform the calibration process.
- Configure the Wireless Settings: Set up the wireless network parameters, such as the SSID (for Wi - Fi) or the network ID (for other protocols). Enter the appropriate security credentials if required.
Testing the Connection
Once the configuration is complete, it's time to test the connection.
- Power On the Transmitter: Turn on the power to the wireless transmitter and wait for it to boot up.
- Check the Readings: Use a monitoring device, such as a computer or a smartphone, to check the temperature readings from the transmitter. Compare these readings with a known - accurate temperature source to verify the accuracy of the system.
- Verify the Wireless Connection: Ensure that the wireless connection is stable and that the data is being transmitted correctly. You can do this by checking the signal strength and the data integrity on the monitoring device.
Troubleshooting Common Issues
If you encounter any problems during the connection or testing process, here are some common issues and their solutions:
- Inaccurate Readings: This could be due to loose connections, incorrect RTD type settings, or calibration issues. Check all the connections, verify the RTD type in the transmitter's configuration, and perform the calibration again if necessary.
- No Wireless Connection: Make sure the wireless settings are configured correctly. Check the SSID, password, or network ID. Also, ensure that the transmitter is within the range of the wireless network.
- Intermittent Readings: Loose connections or electrical interference can cause intermittent readings. Check all the connections and try to move the transmitter away from sources of interference, such as motors or power cables.
Related Products
In addition to the Pt1000 4 - Wire RTD, we also offer a range of related products that might be of interest to you. For example, our Thin Film Element provides high - performance temperature sensing in a compact form factor. The WZPM PT100 RTD Sensor with Kapton Tape is ideal for surface temperature measurement applications. And if you need a different RTD configuration, our 6 Wire Pt100 RTD offers even higher accuracy in certain scenarios.
Conclusion
Connecting a Pt1000 4 - Wire RTD to a wireless transmitter is a straightforward process if you follow the steps outlined in this blog post. By selecting the right components, making proper connections, configuring the transmitter correctly, and testing the system thoroughly, you can achieve a reliable and accurate temperature monitoring solution.
If you are interested in purchasing Pt1000 4 - Wire RTDs or any of our other related products, please feel free to contact us for more information and to start a procurement discussion. We are committed to providing high - quality products and excellent customer service.

References
- "Temperature Measurement Handbook", Omega Engineering
- Manufacturer's datasheets for Pt1000 4 - Wire RTDs and wireless transmitters