Hey there, folks! As a supplier of the WRe526 Thermocouple, I'm super stoked to share with you how to install this nifty device in a pipe. It might seem a bit daunting at first, but with the right steps and a bit of know - how, you'll have it up and running in no time.
What is the WRe526 Thermocouple?
Before we jump into the installation process, let's quickly talk about what the WRe526 Thermocouple is. It's a high - performance temperature sensor that's designed to work in some pretty tough environments. Whether you're dealing with high - temperature industrial processes or just need accurate temperature readings in a pipe, this thermocouple is up for the task.
Compared to other types of thermocouples like the C Type Thermocouple, Type S R B Thermocouple, and Platinum Rhodium Thermocouple, the WRe526 has its own unique features. It's known for its durability and ability to provide reliable temperature measurements over a wide range of temperatures.
Tools and Materials You'll Need
First things first, you gotta gather all the tools and materials you'll need for the installation. Here's a quick list:
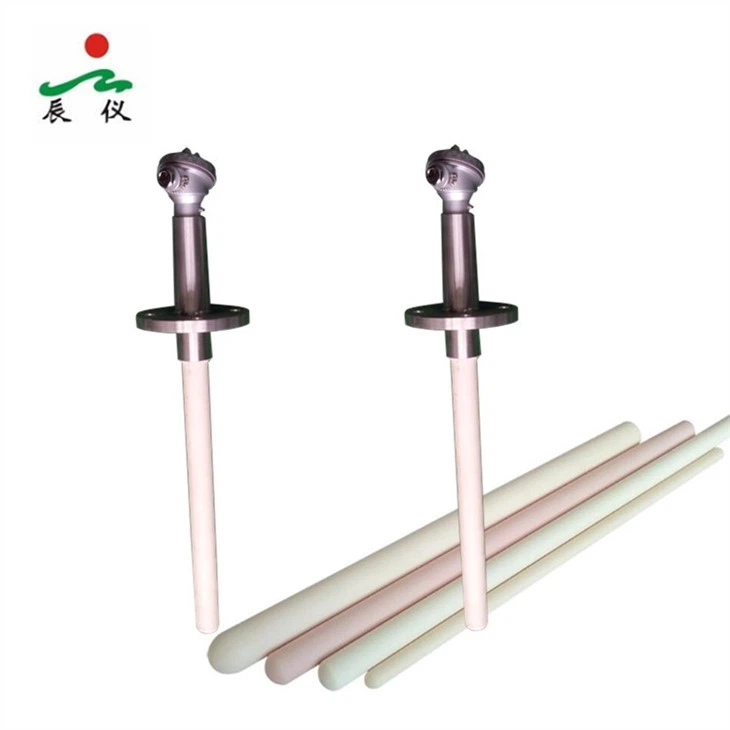
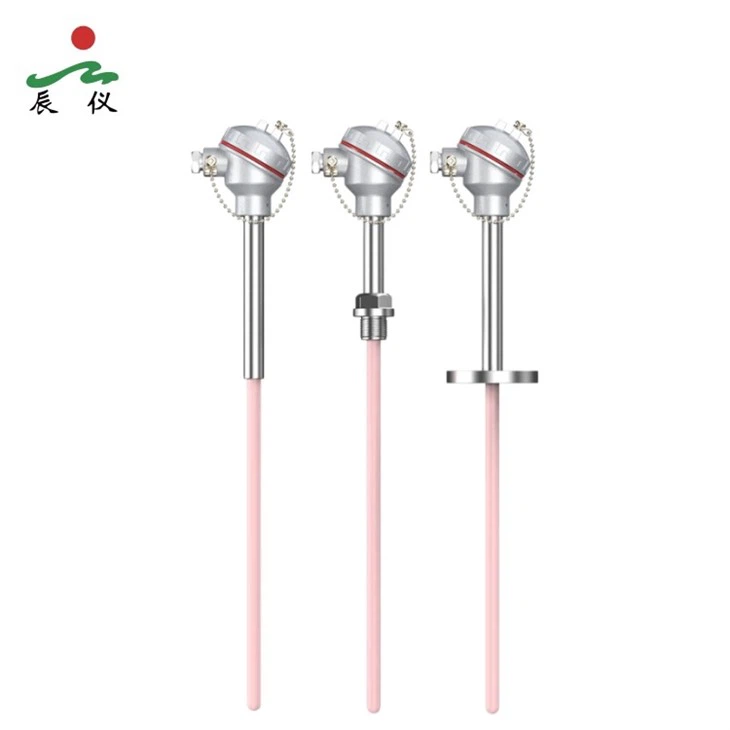
- WRe526 Thermocouple: Obviously, you need the thermocouple itself. Make sure it's the right model for your application.
- Pipe Fitting: You'll need a fitting that's compatible with your pipe and the thermocouple. This could be a threaded fitting or a welded one, depending on your setup.
- Wrenches: A set of wrenches will be necessary to tighten the fittings properly.
- Sealant: To prevent any leaks, you'll need a good quality sealant. Teflon tape or pipe dope works great.
- Electrical Wire: You'll need to connect the thermocouple to your monitoring system, so make sure you have the right type of electrical wire.
- Insulation: If you're working in an area with high temperatures, insulation can help protect the thermocouple and the wiring.
Step - by - Step Installation Process
Step 1: Prepare the Pipe
The first step is to prepare the pipe where you'll be installing the thermocouple. Start by cleaning the area where the fitting will be attached. Use a wire brush or sandpaper to remove any rust, dirt, or debris. This will ensure a good seal and a secure connection.
Next, measure and mark the spot where you want to install the thermocouple. Make sure it's in a location where it can accurately measure the temperature of the fluid or gas inside the pipe. You might want to consult the manufacturer's guidelines for the best placement.
Step 2: Install the Pipe Fitting
Once the pipe is prepared, it's time to install the pipe fitting. If you're using a threaded fitting, apply some sealant to the threads. You can use Teflon tape by wrapping it around the threads in a clockwise direction, or you can use pipe dope by applying it evenly to the threads.
Insert the fitting into the hole in the pipe and use a wrench to tighten it. Make sure it's tight enough to prevent any leaks, but don't over - tighten it, as this could damage the fitting or the pipe.
If you're using a welded fitting, you'll need to follow proper welding procedures. Make sure you have the right equipment and skills for welding. Welding should be done by a qualified professional to ensure a strong and leak - free connection.
Step 3: Install the Thermocouple
Now it's time to install the thermocouple into the fitting. Carefully insert the thermocouple into the fitting, making sure it's seated properly. If the thermocouple has a threaded end, thread it into the fitting and tighten it with a wrench.
Again, be careful not to over - tighten, as this could damage the thermocouple. You want a snug fit that will allow for accurate temperature measurements.
Step 4: Connect the Electrical Wiring
Once the thermocouple is installed, you need to connect the electrical wiring. Start by stripping the ends of the wire to expose the conductors. Then, connect the wires to the terminals on the thermocouple. Make sure you follow the color - coding or the manufacturer's instructions for the correct connection.
Use wire nuts or soldering to secure the connections. After connecting the wires, you can use electrical tape or heat - shrink tubing to insulate the connections and protect them from moisture and other environmental factors.
Step 5: Insulate the Thermocouple and Wiring
If you're working in a high - temperature environment, it's important to insulate the thermocouple and the wiring. You can use insulation materials like fiberglass or ceramic insulation. Wrap the insulation around the thermocouple and the wiring to protect them from the heat.
This will not only help to ensure accurate temperature measurements but also extend the lifespan of the thermocouple and the wiring.
Step 6: Test the Installation
Once everything is installed and connected, it's time to test the installation. Turn on the power to your monitoring system and check if the thermocouple is providing accurate temperature readings. You can compare the readings to a known temperature source to verify the accuracy.
If you notice any issues, such as incorrect readings or leaks, go back and check your installation. Make sure all the connections are tight, the wiring is correct, and there are no leaks in the fitting.
Troubleshooting Tips
Even if you follow all the steps correctly, you might encounter some issues during the installation or operation of the WRe526 Thermocouple. Here are some common problems and how to fix them:
- Incorrect Temperature Readings: If the thermocouple is giving incorrect readings, check the wiring connections. Make sure the wires are connected correctly and there are no loose connections. You might also want to check if the thermocouple is damaged or if it's installed in the wrong location.
- Leaks: If you notice leaks around the fitting, check the sealant. Make sure it was applied correctly and that the fitting is tightened properly. You might need to add more sealant or replace the fitting if the leak persists.
- Electrical Issues: If you're having problems with the electrical connection, check the wiring for any damage or loose connections. Make sure the insulation is intact and that there are no short circuits.
Why Choose Our WRe526 Thermocouple?
As a supplier, we take pride in offering high - quality WRe526 Thermocouples. Our thermocouples are manufactured to the highest standards, ensuring accurate and reliable temperature measurements.
We also offer excellent customer support. If you have any questions or need help with the installation or troubleshooting, our team of experts is here to assist you. We believe in building long - term relationships with our customers, and we're committed to providing the best products and services.
Conclusion
Installing the WRe526 Thermocouple in a pipe might seem like a complex task, but if you follow the steps outlined in this blog, you'll be able to do it successfully. Remember to gather all the necessary tools and materials, prepare the pipe properly, install the fitting and the thermocouple correctly, connect the wiring, insulate the components, and test the installation.
If you're in the market for a WRe526 Thermocouple or have any questions about our products, don't hesitate to reach out. We're here to help you with all your temperature sensing needs. Contact us today to start a purchase negotiation and find out how our thermocouples can benefit your business.
References
- Thermocouple Installation Guidelines, Manufacturer's Manual
- Industrial Temperature Measurement Handbook