As a supplier of KNE Thermocouple Heads, ensuring the proper functionality of these devices is crucial for both our customers and our business. In this blog post, I'll share a comprehensive guide on how to test the functionality of KNE Thermocouple Heads, covering everything from the basic principles to detailed testing procedures.
Understanding the Basics of KNE Thermocouple Heads
Before diving into the testing process, it's essential to understand what a KNE Thermocouple Head is and how it works. A thermocouple is a temperature sensor that consists of two different metals joined together at one end. When there is a temperature difference between the junction (the joined end) and the other ends of the metals, a voltage is generated. This voltage is proportional to the temperature difference, allowing us to measure temperature.

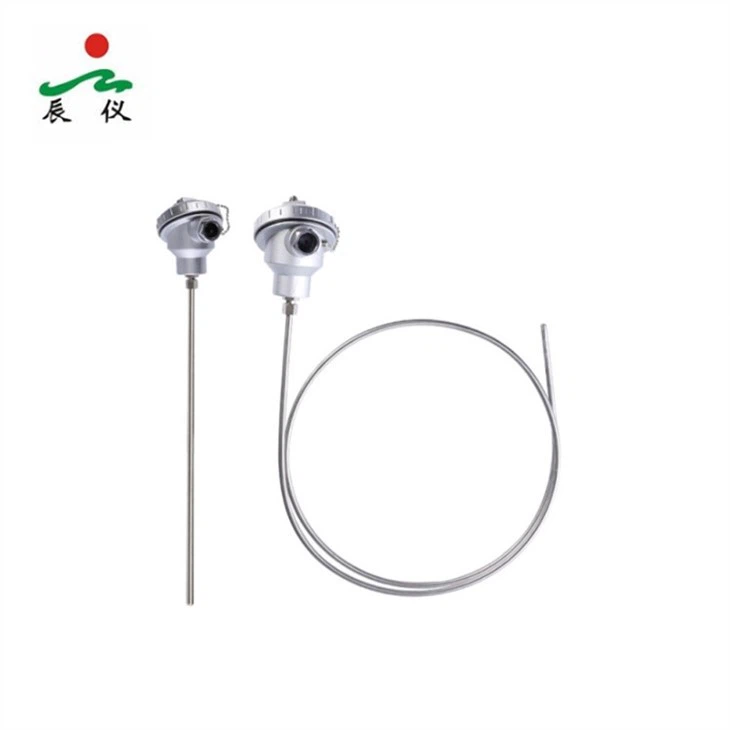
The KNE Thermocouple Head is designed to house the thermocouple wires and provide a convenient connection point for the measurement system. It is often used in industrial applications where accurate temperature measurement is required.
Pre - testing Preparations
- Safety First
- Ensure that you are wearing appropriate personal protective equipment (PPE), such as safety glasses and gloves. When working with thermocouples in industrial settings, there may be potential hazards like high - voltage electrical systems or hot surfaces.
- Gather the Necessary Tools
- A multimeter is the primary tool for testing thermocouples. Make sure it is set to the appropriate voltage range for thermocouple measurement. Most multimeters have a thermocouple function that can be selected.
- You may also need a temperature reference source, such as a calibrated oven or a temperature - controlled bath. This will be used to create a known temperature environment for testing.
- Inspect the KNE Thermocouple Head
- Visually inspect the thermocouple head for any signs of physical damage, such as cracks, loose connections, or corrosion. If there is any visible damage, the thermocouple head may need to be replaced before testing.
Testing the Continuity of the Thermocouple Wires
- Set up the Multimeter
- Turn on the multimeter and set it to the continuity or resistance mode. For most thermocouples, a low - resistance measurement is expected when the wires are intact.
- Connect the Multimeter Probes
- Connect one probe to each of the thermocouple wires at the terminals inside the KNE Thermocouple Head. If the thermocouple is a Type K (the most common type), the wires are usually color - coded (positive wire is usually red, and the negative wire is usually yellow).
- Check the Reading
- A good thermocouple should show a low resistance value, typically in the range of a few ohms. If the multimeter shows infinite resistance, it indicates an open circuit, which means there is a break in the thermocouple wire.
Testing the Voltage Output at a Known Temperature
- Prepare the Temperature Reference Source
- If you are using a calibrated oven, pre - heat it to a known temperature. For example, you can set it to 100°C. If using a temperature - controlled bath, fill it with a suitable liquid (such as water for lower temperatures) and set the temperature to the desired value.
- Insert the Thermocouple
- Carefully insert the thermocouple probe (connected to the KNE Thermocouple Head) into the temperature reference source. Make sure that the junction of the thermocouple is fully immersed or in contact with the medium at the known temperature.
- Set the Multimeter to Voltage Mode
- Set the multimeter to the thermocouple voltage mode. Select the appropriate thermocouple type (e.g., Type K).
- Take the Voltage Reading
- After allowing some time for the thermocouple to reach thermal equilibrium (usually a few minutes), take the voltage reading on the multimeter. Compare this reading with the theoretical voltage value for the known temperature. You can use a thermocouple reference table to find the expected voltage for a given temperature.
- For a Type K thermocouple at 100°C, the expected voltage is approximately 4.095 mV. If the measured voltage is significantly different from the expected value, there may be a problem with the thermocouple or the KNE Thermocouple Head.
Testing the Connection to the Measurement System
- Connect the KNE Thermocouple Head to the Measurement System
- Use Standard K Type Connectors to connect the KNE Thermocouple Head to the measurement system, such as a data logger or a temperature controller.
- Check for Signal Transmission
- Start the measurement system and monitor the temperature readings. Make sure that the system is receiving the correct temperature data from the thermocouple. If there are any errors or fluctuations in the readings, check the connections for loose wires or poor contact.
Special Considerations for Explosion - Proof Thermocouple Heads
If you are testing a CT6 Explosion Proof Thermocouple Head, additional safety precautions are required.
- Follow Safety Regulations
- Ensure that all testing procedures are carried out in a safe environment that meets the explosion - proof requirements. This may involve using specialized tools and equipment that are approved for use in explosive atmospheres.
- Inspect the Seals and Enclosures
- Check the seals and enclosures of the explosion - proof thermocouple head for any signs of damage or wear. A damaged seal can compromise the explosion - proof integrity of the device.
Troubleshooting
- If the Continuity Test Fails
- Check for loose connections inside the KNE Thermocouple Head. Tighten any loose terminals or screws.
- If there is a break in the thermocouple wire, try to locate the break and repair it if possible. In some cases, it may be necessary to replace the thermocouple wire.
- If the Voltage Output is Incorrect
- Check for contamination on the thermocouple wires or at the junction. Contamination can affect the thermoelectric properties of the thermocouple.
- Ensure that the thermocouple is properly calibrated. If the problem persists, it may be necessary to replace the thermocouple or the KNE Thermocouple Head.
Conclusion
Testing the functionality of KNE Thermocouple Heads is a crucial step in ensuring accurate temperature measurement in industrial applications. By following the steps outlined in this guide, you can effectively test the continuity, voltage output, and connection of the thermocouple head. If you encounter any problems during the testing process, our team of experts is always ready to assist you.
If you are in the market for high - quality KNE Thermocouple Heads or need further advice on temperature measurement solutions, we encourage you to reach out to us for procurement and in - depth discussions. We are committed to providing you with the best products and services to meet your industrial temperature measurement needs.
References
- "Thermocouple Handbook" by Omega Engineering
- "Industrial Temperature Measurement" by Peter H. Rose